
Magic Eraser remove the background of any photos quickly and easily!
Repeat until a clean side of the Magic Eraser does not discolor when scrubbed against the surface. When done regularly (every 2-3 months) this method can restore my non-stick skillet to a like-new finish in less than 5 minutes. If it's been too long since the last deep clean, it can take 3-4 rounds of this treatment and some real elbow grease.
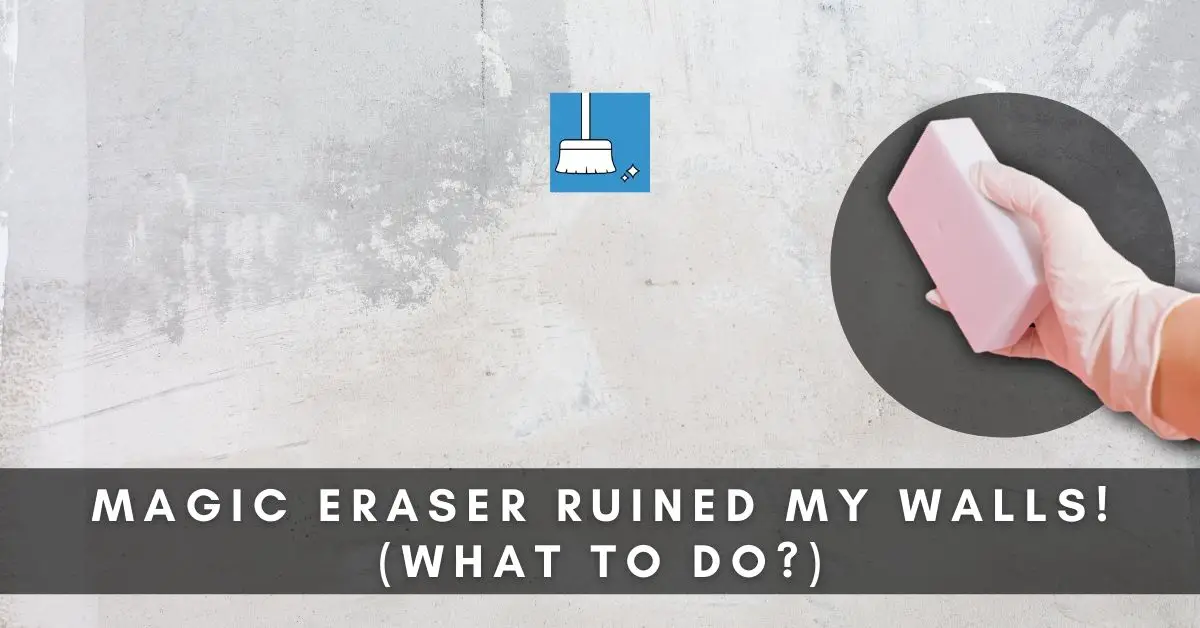
Magic Eraser Ruined My Walls! (What To Do?)
Ordinary dirt, grime, and sticky messes are no match for Magic Eraser. With a simple wipe across the surface, most stains are history. For tougher stains, a bit of extra elbow grease should do the trick. Be sure, though, whenever you use a Magic Eraser, to put gloves on. The surface of the Magic Eraser is abrasive and potentially harmful to skin.

7 Ways to Use the Mr. Clean Eraser You Never Thought Of
Add the gum turpentine and linseed oil to the bucket. Swish the water to mix the ingredients. Place your cleaning cloth into the solution and wring it out well. Rub the cloth with the grain of the cherry wood to remove residue from the Magic Eraser. The gum turpentine and hot water work to remove the residue or any soils, stains or marks on.

Eraser stock image. Image of path, supply, erase, undo 12717159
The product is an abrasive- its tiny bits of melamine. or-- formaldehyde-melamine-sodium bisulfite copolymer . The advise to find a fine polish to restore the shine should work if the floor finish is still thick enough. The fine abrasives in car polish/ wax mixes should work with the right amount of elbow grease.

Mr. Clean Magic Eraser Does It Work And Is It Safe for Wood Floors
STEP 1: Mix one part bleach with two parts of water in a bowl. STEP2: Use a soft cloth to apply the solution to the magic eraser marks on the wallpaper, and allow it to sit for 5 minutes. STEP3: Dip a clean cloth in water and use it to rinse the marks off. Then use another clean cloth to dry it off.

Magic Eraser Ruined Finish! (Fixed)
By Tricia Goss / July 22, 2023 10:00 am EST. A commonly used cleaning tool in the kitchen is the melamine sponge, better known as a magic eraser. This handy scrubber, made of melamine foam, is known for its versatility in removing tough stains. However, there's one popular kitchen finish that's not compatible with the magic eraser, and that's.
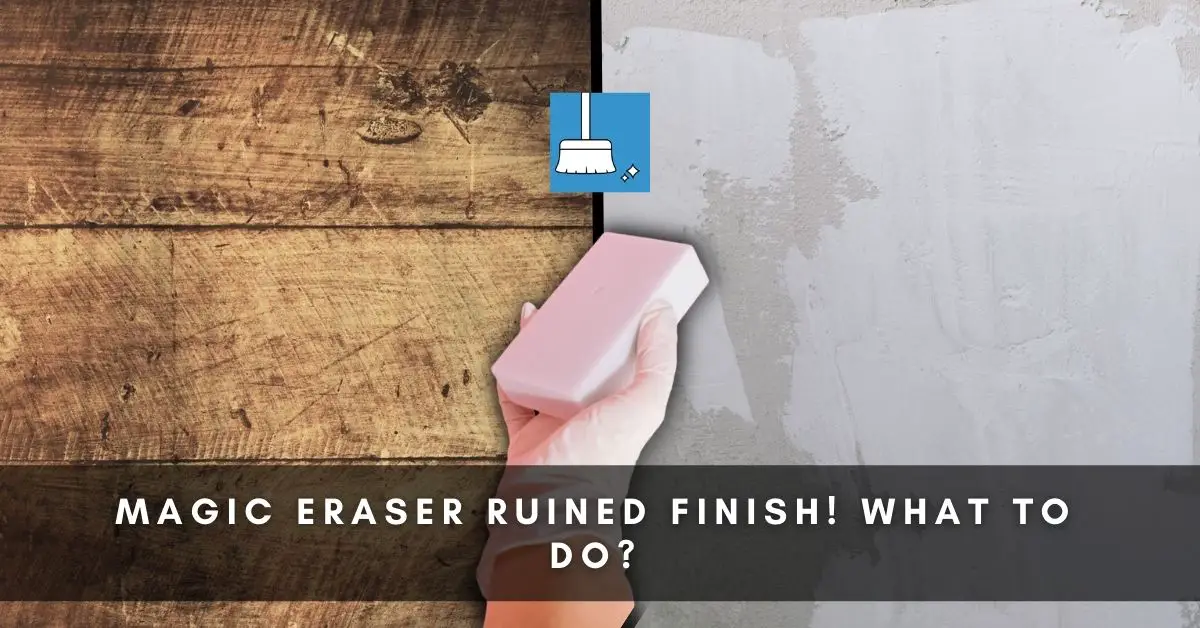
Magic Eraser Ruined The Finish! (What To Do?) EASY Steps!
Explore ten cleaning uses of the Magic Eraser. 55 5th Ave 19th Floor #216 New York, NY 10003 (212) 470-4961. Mon-Sun: 9:00 am - 8:00 pm [email protected]. This material seems durable, but it also has a glossy finish that can be ruined by the Magic Eraser's sandpaper effect.

Have You Experienced the True Magic of the Magic Eraser? Mr clean
Magic Eraser removes paint and finishes. You can try to refinish the spot, but you will probably have to refinish the entire top. Reply Was this helpful? Yes. If this is a bran new table you can try to add some Old English to the spot to see if this one helps. If not then the top of the table will need to be sanded down and refunished to fix.

Mr. Clean Magic Eraser Cleaning Sheets, The Power of a
Please don't use toilet bowl cleaner. It will ruin any finish on the tub so it'll get dirty much quicker since the finish is ruined. It's too strong and only meant to be used on slippery ceramic surfaces like the inside of a toilet bowl. Bleach can also take the finish off of fiberglass tubs / showers.

Pro Retouch 2.0 — Totally Rad
1. Wipe Surface With A Dry Cloth. If you are feeling like the Magic Eraser ruined your finish, it's time to begin working on prepping the surface. There are a few options available to you. The best approach is to take a clean, dry cloth and begin wiping the surface. You will want to cover the entire surface to make sure residue and debris.

Magic Eraser Bath, Cleaning Pads With Durafoam, Meadows & Rain Mr
Step 5. If you know the cabinet manufacturer and color/finish name, call a dealer to purchase touch up spray. Eureka! Step 1 worked great on my cabinets but I had to rub pretty hard. Even though I no longer need it to repair my cabinets, I ordered Guardsman Deep Clean on Amazon to use next time in place of a Magic Eraser. 🙄. Good luck to you!

Magic Eraser Uses That Will Change Your Life Magic eraser uses
However, you want to avoid using stuff like vinegar or lemon since that can damage the finish, much like a Magic Eraser would. Stainless Steel Stainless steel is beautiful and sleek.

Magic Eraser Ruined Finish! (Fixed)
If Magic Eraser ruined your walls, start by wiping the surface using a dry cloth. Apply denatured alcohol on the wall, wipe with a clean cloth, and then let it air-dry. Once done, apply touch-up paint to remove the marks. It's rare for Magic Eraser to ruin walls, but it can happen depending on how the solution responds to the existing wall paint.

Magic Eraser Ruined My Walls! (Fixed)
Step 1: Choose a paint color and finish that matches the one you already have on your walls. Step 2: Apply wall putty to any holes or areas damaged by the magic eraser if it has caused deep scratches. Step 3: Allow the putty to dry and then lightly sand over the surface you've applied the putty with sandpaper.

DryErase Board Eraser atelieryuwa.ciao.jp
Magic Erasers are widely used for cleaning various surfaces, but their abrasive nature can sometimes lead to unintended consequences.. Magic Eraser Ruined My Walls (Repair Guide) Get Instant Price (833) 715-4503. Table of Contents.. The primer will ensure good adhesion of the new paint and help achieve a smooth, even finish. Apply the.
Magic Eraser Ruined The Finish! (Must Follow This) 2024
Use a damp Magic Eraser to remove any scuff marks on the canvas or the edges of the shoes. If any spots still remain, you can follow up by hand washing the shoes in warm water with mild dish soap.
